How to Replace Cork Fishing Rod Handles with Eva Foam
I have been guiding fishing charters in Oregon for the last 15 years. In my experience, a guide is only as good as the equipment he fishes with. Let’s face it. Fishing rods are very expensive. The best option by far is to purchase high-quality equipment, to begin with, and then properly maintain and care for them. As fishing rods get old, cork handles have a tendency of getting brittle and breaking. While there isn’t a lot you can do to prevent this from happening, there are great options for replacement.
You can bring new life to that old, worn-out handle easily, and at a very low cost. In this tutorial, I will walk you through step-by-step on how I replaced mine.
Step 1: Removing the Old Grip
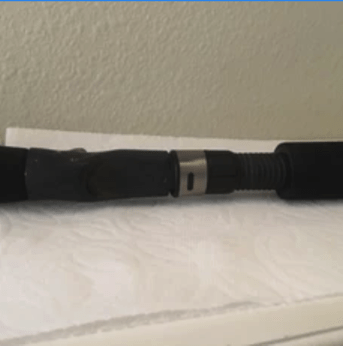
Start by removing the old cork. I have found using a sharp kitchen knife or a utility knife to be good options. Please be careful while handling blades not to cut yourself or damage other parts of your fishing rod.
Step 2: Fitting the New Grips
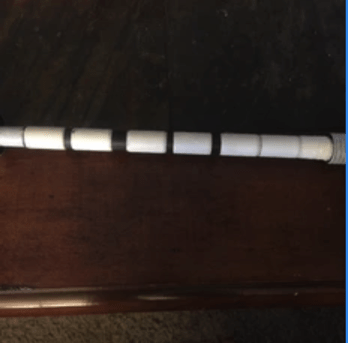
Once all the cork is removed, make sure the blank is clean and smooth. Slide your new foregrip down into position and see how snug it fits. If it is still loose, you can wrap the tape around the rod until it has enough bulk to fit snug. Repeat the same process for the rear grip.
Step 3: Adhere the New Grips
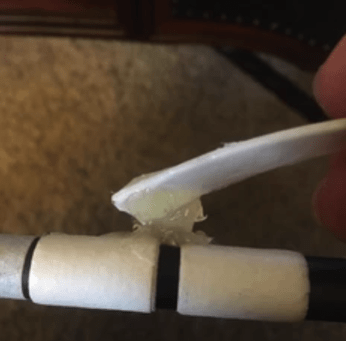
Most epoxies come with two components, a resin, and a hardener. I highly suggest using a two-part epoxy because it gives you time while it’s workable, but then supplies a durable, long-lasting bond once it has hardened.
Once you have mixed the epoxy, spread the glue out evenly and slide the new grips into place. Immediately wipe off any excess epoxy from the rod blank or foam. Leave the rod in a warm, dry place until the epoxy has completely hardened.
I was able to get all the needed parts for this project from Mud Hole Rod Building and Tackle Crafting.
Schedule your Oregon Fishing Charter Today!


